In the first part of this series, I provided a detailed walkthrough of setting up a project using new Unity XR SDK pipeline for HoloLens 2 development and how to integrate it with the HoloLens 2 toolchain.
In this post, I will continue building on that project by showing you how to set up an HoloLens 2 scene in Unity using the Mixed Reality Toolkit. Finally I will show you how to set up and configure one of the MRTK built-in example projects.
Configuring a scene for the HoloLens 2
Use the project from the previous post in which you configured the project settings, player settings, build settings, and imported the MRTK to use with the new XR SDK pipeline.
Setting up a new scene for the HoloLens only takes a few steps.
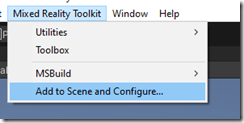
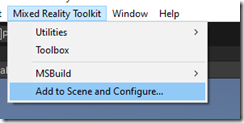
1. From the Mixed Reality Toolkit item in the toolbar, select Add to Scene and Configure.
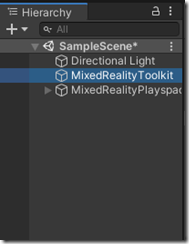
2. This will add the needed MRTK components to your current scene. Verify in the Hierarchy window that your new scene includes the following game objects: Directional Light, MixedReality Toolkit, and Mixed Reality Playspace. Select the MixedReality Toolkit game object.
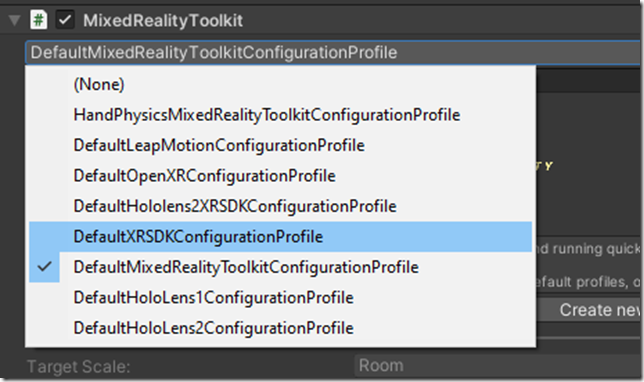
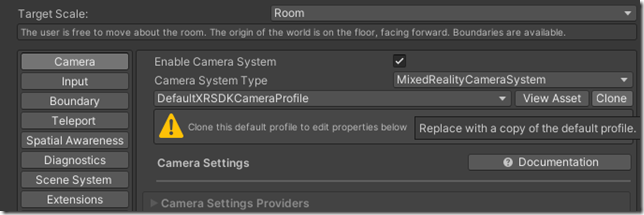
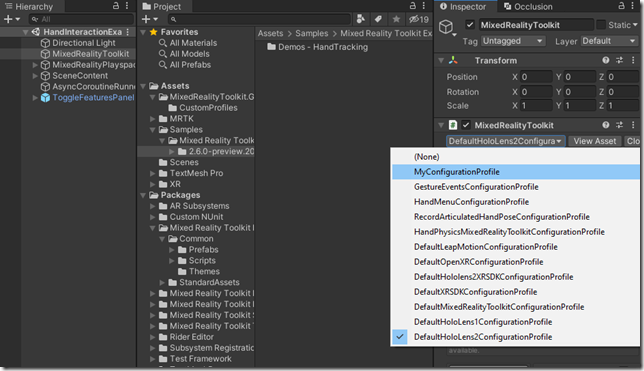
3. In the Inspector pane for the MixedReality Toolkit game object, there is a dropdown of various configuration profiles. The naming of these profiles is confusing. It is extremely important that you switch from the default DefaultMixedRealityToolkitConfigurationProfile to DefaultXRSDKConfigurationProfile. Without making this change, even basic head tracking will not work for you.
4. Next, click on the Clone button and choose a new pertinent name for your application’s configuration (if you can’t think of one, then the old standby MyConfigurationProfile will work in a pinch – you can go back and change it later).
5. The MRTK configuration files are set up in a daisy chain fashion, with config files referencing other config files, all of which can be copied and customized. Go ahead and clone the DefaultXRSDKCameraProfile. Rename it to something your can remember (MyCameraProfile will work in a pinch).
6. Save all your changes with Ctrl+S.
Opening an MRTK example project
Being able to test out a working HoloLens 2 application can be instructive. If you followed along with the previous post, you should already have the example scenes imported into your project.
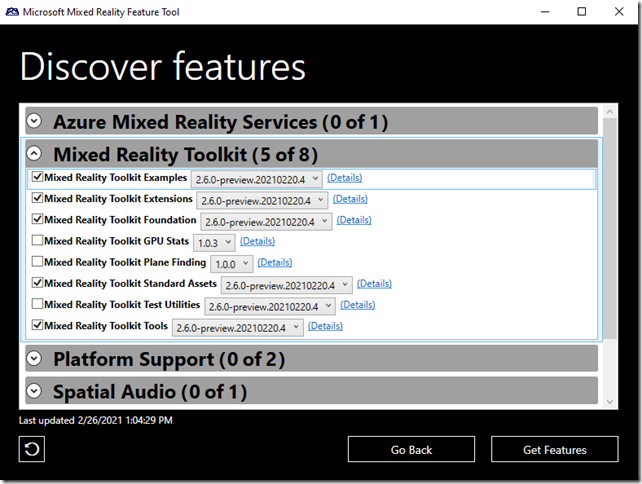
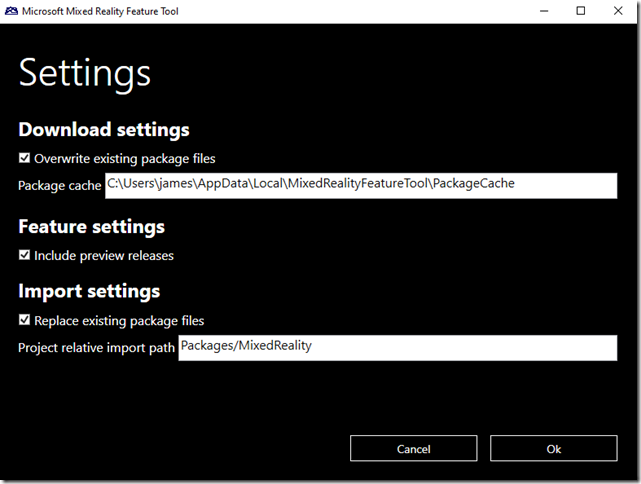
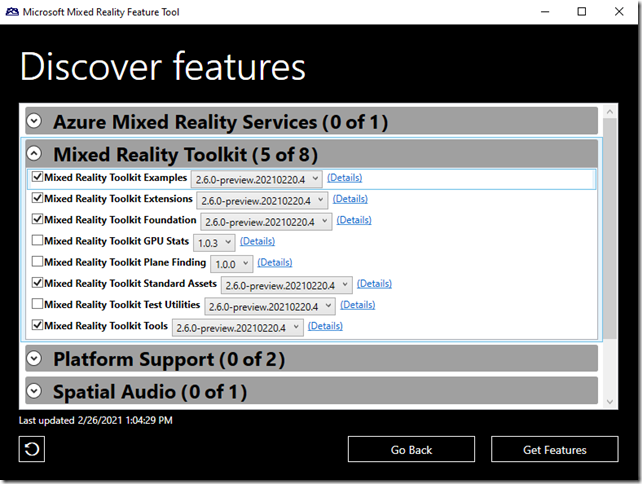
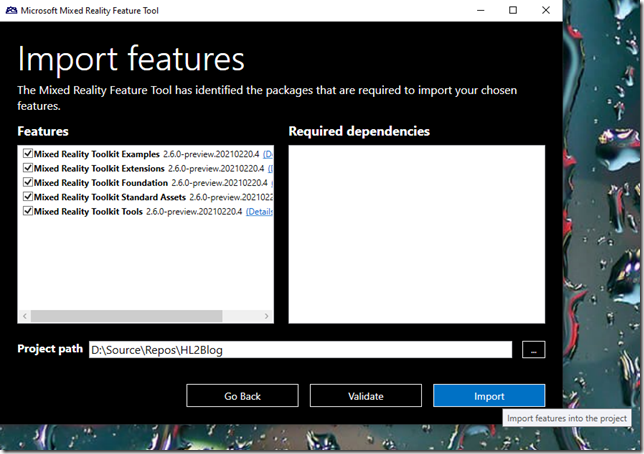
If you missed this step, you can open up the Mixed Reality Feature Tool now and import the Mixed Reality Toolkit Examples.
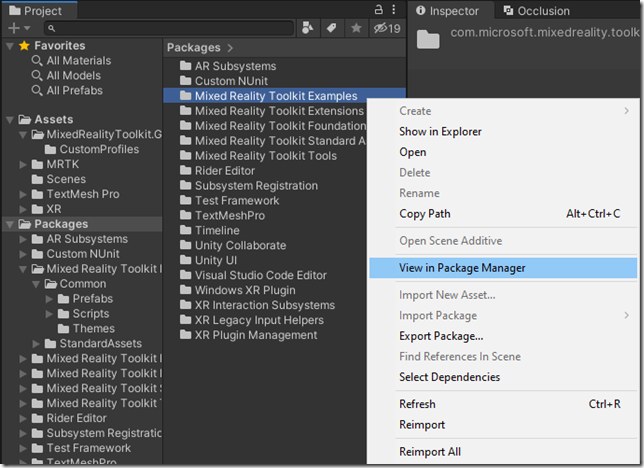
1. After importing, the MRTK examples are still compressed in a package. In the Project pane, navigate to the Packages folder. Then right click on Projects > Mixed Reality Toolkit Examples and click on View in Package Manager in the context menu.
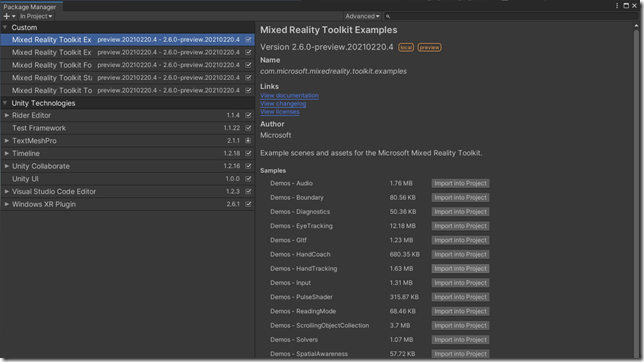
2. In Package Manager, select the Mixed Reality Toolkit Examples package. This will list all of the compressed MRTK demos to the right.
3. Click on the Import into Project button next to the Demos – HandTracking sample to decompress it.
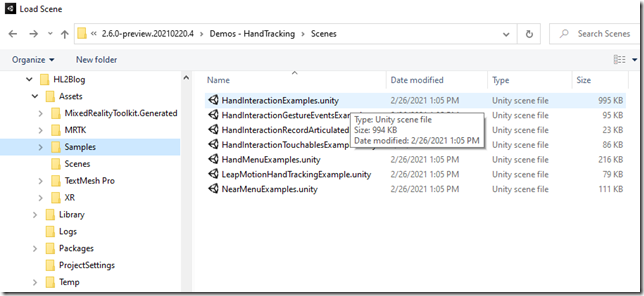
4. There are a few ways to open your scene. I will demonstrate one of them.Type Ctrl+O on your keyboard (this is equivalent to selecting File | Open Scene on the toolbar). A file explorer window will open up. Navigate to the Assets folder for your Unity project. You will find the HandInteractionExample scene under a folder called Samples. Select it.
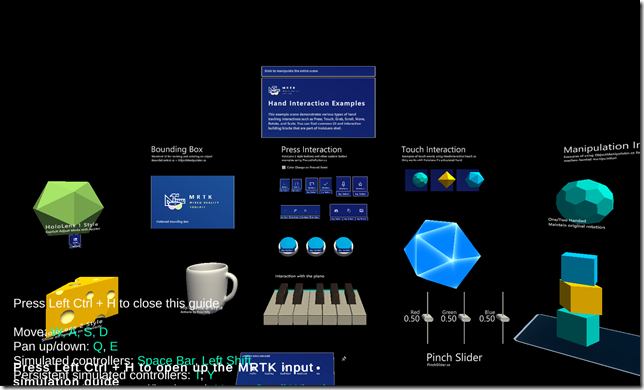
The interaction sample is one of the nicest ways to try out the hand tracking capabilities of the HoloLens 2. It still needs to be configured to work with the new XR SDK pipeline, however.
Configuring an MRTK demo scene
Before deploying this scene to a HoloLens 2, you must first configure the scene to use the XR SDK pipeline.
1. Select the MixedRealityToolkit game object in the Hierarchy pane. In the Inspector pane, switch from the default configuration profile to the one you created earlier when you were creating your own scene.
2. Ctrl+S to save your changes.
Preparing the MRTK demo scene for deployment
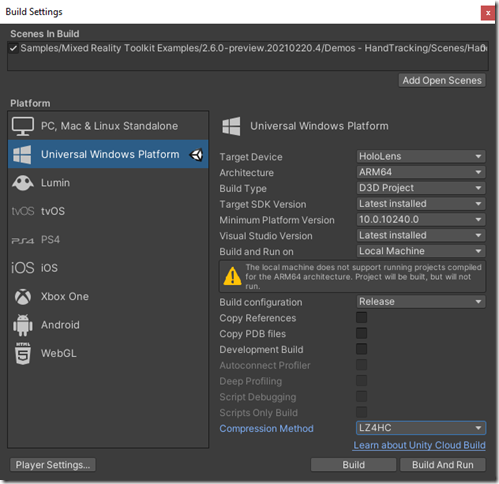
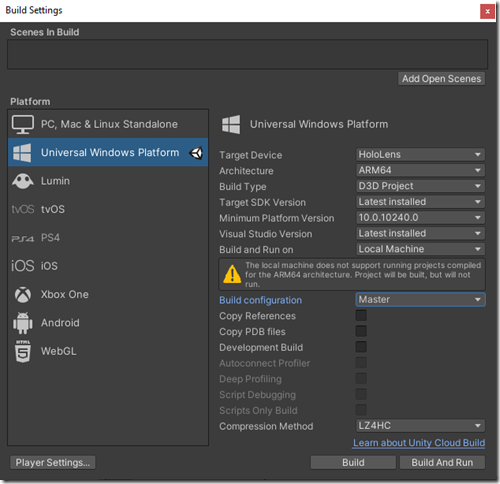
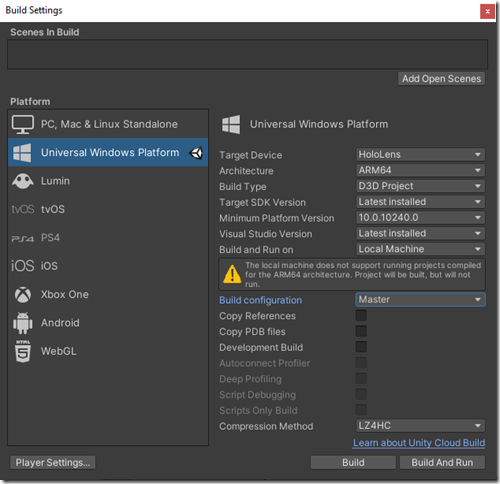
1. Open up the Build Settings window either by typing Ctrl+Shift+B or by selecting File | Build Settings from the project toolbar.
2. Click on the Add Open Scenes button to add the example scene.
3. Ctrl+S to save your build settings.
4. One of the nicest features of the Mixed Reality Toolkit, going back all the way to the original HoloLens Toolkit it developed out of, is the build feature. Building a project for HoloLens has several involved steps which include building a Visual Studio project for UWP, compiling the UWP project into a Windows Store assembly, and finally deploying the appx to either a HoloLens 2 device or to an emulator. The MRTK build window lets you do all of this from inside the Unity IDE.
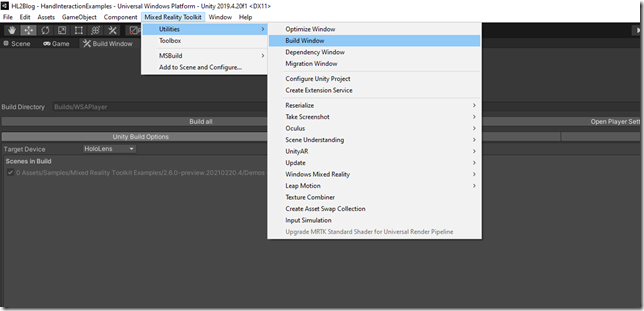
From the Mixed Reality Toolkit menu on the toolbar, select Utilities | Build Window. From here, you can build and deploy your application. Alternatively, you can build your appx file and deploy it from the device portal, which is what I usually do.
Summary
This post completes the walkthrough showing you how to set up and then build a HoloLens 2 application in Unity using the new XR SDK pipeline. It is specifically intended for developers who have developed for the HoloLens before and may have missed a few tool cycles, but should be complete enough to also help developers new to spatial computing get quickly up to speed on the praxis of HoloLens 2 development in Unity.

